
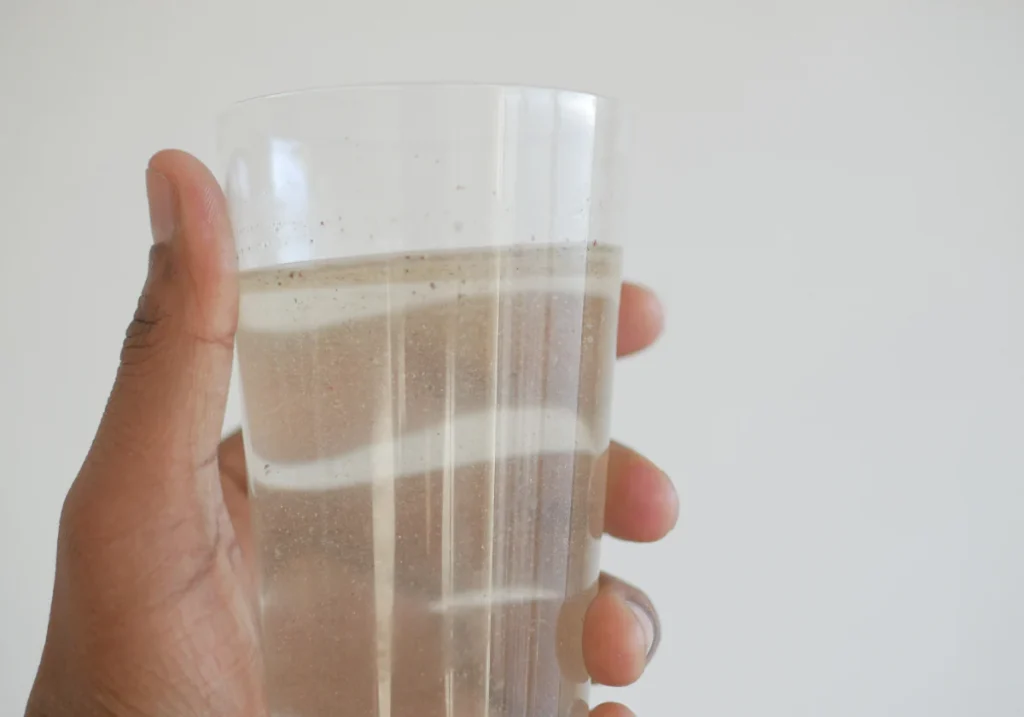
Queens home water testing specialists help homeowners identify hidden contaminants in tap water by testing for issues like lead, which is tasteless, odorless, and invisible, so you can uncover problems early and protect your household’s well-being. Clean, safe drinking water is a fundamental expectation for any homeowner. However, lead can leach into drinking water through aging plumbing infrastructure, including service lines, lead solder, or older brass fixtures. Understanding how to identify this hidden risk is the first step toward protecting your household’s well-being.
Whether you live in an older home with historic pipes or a newer construction concerned about local infrastructure, taking proactive steps to test your water is the most reliable way to gain peace of mind.
Why Lead Testing Is Necessary
Lead is a potent neurotoxin, and its presence in drinking water is primarily caused by corrosion. When water sits in pipes containing lead—or pipes joined with lead-based solder—the metal can dissolve into the water supply. This is particularly common in homes built before the mid-1980s, though it remains a concern in many municipal systems nationwide.
Because you cannot detect lead through your senses, routine testing is the only way to confirm if your water exceeds safety levels. For those living in areas with known infrastructure challenges, checking your water regularly is a vital component of home maintenance. You can explore more about where lead comes from to better understand the specific pathways lead might take into your home.
Step 1: Identifying Your Potential Risk
Before ordering a kit or calling a professional, perform a quick visual inspection of your plumbing. Locate the point where your water service line enters your home—usually in the basement or a crawlspace. If the pipe is metallic, you can perform a simple “magnet test.”
- The Scratch Test: If the pipe is dull gray and easily scratched with a screwdriver to reveal a shiny, silver color, it is likely lead.
- The Magnet Test: Lead is not magnetic. If a magnet sticks to the pipe, it is likely iron or steel, not lead.
Even if your internal plumbing appears modern, your home may still be connected to an older main line. If you are uncertain about your specific area’s history, reviewing local water quality reports can provide valuable insight into the infrastructure surrounding your neighborhood.
Step 2: Choosing Your Testing Method
Homeowners generally have two paths for testing their water: DIY test kits or professional lab analysis.
DIY Test Kits
Several hardware stores and online retailers offer “do-it-yourself” lead test kits. These are often cost-effective and provide quick, qualitative results (indicating whether lead is present above a certain threshold). However, these kits are sometimes less precise than laboratory methods and may not provide the detailed breakdown required to understand the severity of a contamination issue.
Professional Laboratory Testing
For the most accurate results, certified laboratory testing is the gold standard. A professional service will provide you with a sterile collection vessel and precise instructions on how to take a “first-draw” sample—which is the water that has been sitting in your pipes for at least six hours. This ensures you are testing the “worst-case scenario” for your home’s plumbing. If you aren’t sure how to begin, reaching out to lead testing services can simplify the process by ensuring the sample is collected and analyzed according to EPA standards.
Step 3: Proper Sample Collection
To get an accurate reading, your collection technique must be precise. Lead levels can vary significantly throughout the day. Follow these best practices:
- Stagnation is Key: Do not use water for at least six hours before collecting your sample. This allows time for the water to sit in contact with the plumbing, which is when lead levels are highest.
- Choose the Right Tap: Collect the water from a cold-water kitchen or bathroom tap. Do not use hot water for the sample, as hot water is more likely to contain higher levels of minerals and dissolved metals.
- The “First Draw”: Place the bottle under the faucet and open it immediately. You want the very first water that comes out of the pipe.
- Seal and Label: Once full, tighten the cap securely and fill out the laboratory’s chain-of-custody form immediately to prevent errors.
For further guidance on navigating the testing process, you can consult our frequently asked questions section to see how other homeowners have handled common testing hurdles.
Understanding Your Results
Once you receive your report, you might see results in parts per billion (ppb). The EPA has established an Action Level of 15 ppb for lead in public water systems. If your test results exceed this number, it does not mean your water is unusable, but it does mean that action is required to reduce exposure.
If you find that your levels are elevated, don’t panic. Many homeowners manage these risks through simple mitigation strategies, such as using NSF-certified water filters designed specifically to remove lead. In some cases, the fix is as simple as replacing an outdated faucet or flushing your pipes by running the tap for a few minutes before use.
Understanding the health risks associated with lead exposure is essential for making informed decisions about your family’s safety. For more comprehensive information on safe drinking water standards, you can visit the Environmental Protection Agency (EPA).
Maintaining a Safe Home
Water safety is not a “one and done” task. If you live in an area with aging infrastructure or if your home was built before 1986, periodic testing—perhaps every one to two years—is a prudent habit.
If you suspect an issue or simply want a professional assessment of your home’s current status, please feel free to contact us for further guidance. Proactive testing turns uncertainty into actionable data, ensuring that your home remains a safe and healthy environment for everyone who drinks from your tap.
For more tips on maintaining a healthy home environment, check out the rest of our educational blog.